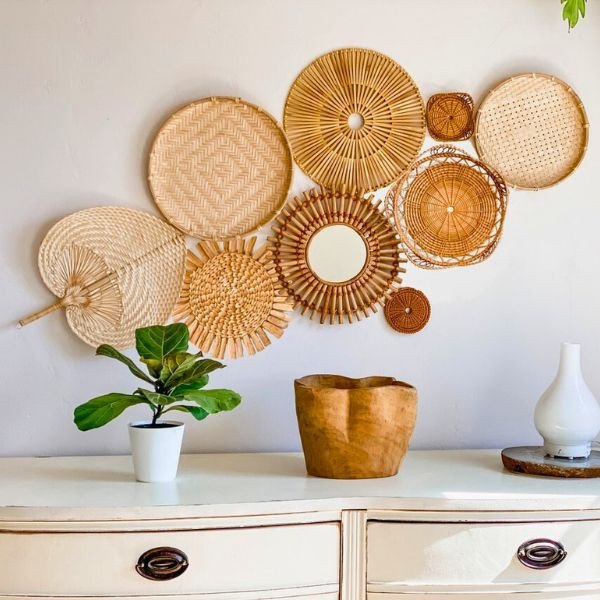
Blank outdoor walls got you down? You’re not alone! When I first moved into my house, my patio felt about as inviting as a doctor’s waiting room.
But let me tell you, transforming those bland exterior walls into stunning focal points can completely revolutionize your outdoor living space. And the best part? It’s easier than you might think and i get the result after implement this decorate outdoor wall guide!
In this guide, we’re going to walk through everything you need to know to turn your outdoor walls from drab to fab. Whether you’re working with a tiny balcony or a sprawling backyard, I’ve got tips and tricks that’ll work for any space and budget. Trust me, I’ve made a lot of mistakes about outdoor wall decoration!
We’ll cover choosing the right style, picking weather-resistant materials, and even some DIY projects that’ll make your neighbors green with envy.
So grab a cool drink, get comfortable, and let’s dive into the wonderful world of outdoor wall decor. By the time we’re done, you’ll be itching to get started on your own outdoor masterpiece!
Step 1: Assess Your Outdoor Space and Wall Condition
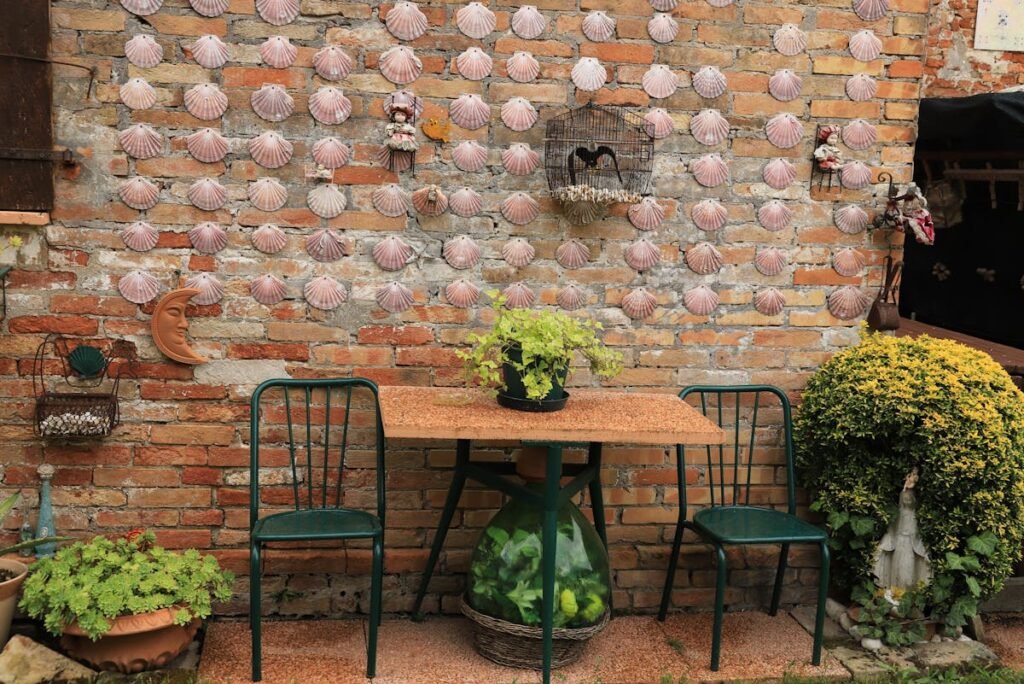
Alright, folks, let’s kick things off with the nitty-gritty of outdoor wall decorating! Trust me, I’ve learned this the hard way – you can’t just slap any old thing on your exterior walls and call it a day. No siree!
Wall identification for decorate outdoor wall
First things first about decorative outdoor wall decoration, you’ve got to play detective with your wall. Is it brick, stucco, wood, or something else entirely?
I remember when I first moved into my place, I was all gung-ho about hanging this gorgeous metal sun sculpture on my exterior wall.
But guess what? The wall was made of this crumbly old stucco that wouldn’t hold a thumbtack, let alone my ambitious art piece. Talk about a facepalm moment!
So, take it from me – really get to know your wall. Give it a good once-over. Are there any cracks or soft spots? Is the paint peeling? These are all things you’ll want to address before you start decorating.
Identify outdoor atmosphere
Next up, think about what Mother Nature’s gonna throw at your wall. Is it facing south and getting baked by the sun all day? Or is it on the north side, dealing with more shade and moisture?
My poor metal sun ended up on a south-facing wall, and let me tell you, that thing got so hot in the summer you could’ve fried an egg on it!
Lastly, break out that measuring tape! Nothing’s worse than ordering a piece of wall art only to find out it’s way too small or comically large for your space. Been there, done that, and my wallet wasn’t too happy about it.
Remember, folks, a little prep work goes a long way in making sure your outdoor wall decor looks amazing and stands the test of time. Now, who’s ready to get decorating?
Step 2: Choose Your Outdoor Wall Decor Style
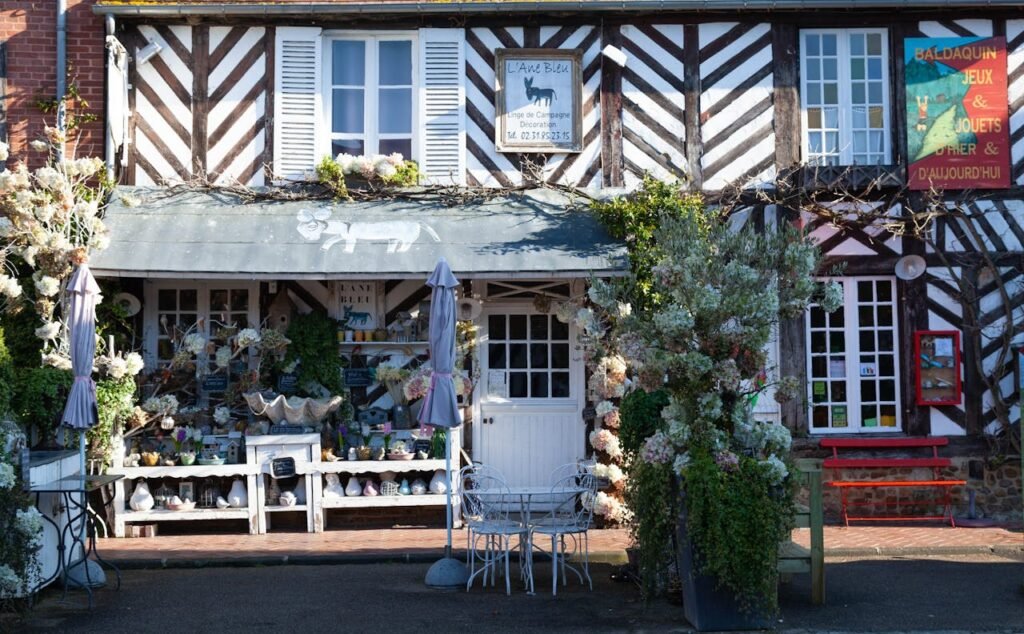
Alright, my fellow decor enthusiasts, it’s time for the fun part – choosing your style! This is where you get to let your personality shine through your outdoor walls. But let me tell you, it can be a bit overwhelming. I mean, have you seen how many options are out there?
What will be suitable for your wall?
When I started choosing colors for my room, I was as excited as a child in a toy shop.
I wanted a bit of everything! Modern art? Yes, please! Rustic farm signs? Bring ’em on! Beachy vibes? Why not! Let’s just say my patio ended up looking like a design magazine had a fight with a flea market – and lost.
So, learn from my mistakes, folks. Some popular option that you can follow for your outdoor wall decoration.
- Modern and minimalist: Think clean lines, geometric shapes, and a less-is-more approach. This style is perfect if you want your outdoor space to feel like an extension of a sleek, contemporary home. It will give you a best and meaning full decorative outdoor wall decoration project.
- Rustic and farmhouse: Ah, the charm of the countryside! Wood signs, metal accents, and maybe even a repurposed barn door can give your space that cozy, down-home feel.
- Coastal and beach-inspired: Bring the beach to your backyard! Weathered wood, seahorse sculptures, and shades of blue can transport you to the seaside, even if you’re miles from the coast.
- Bohemian and eclectic: This is for all you souls who paint the world in vibrant colors. Mix patterns, colors, and textures to your heart’s content. Just remember, there’s a fine line between “eclectic chic” and “yard sale chic” – trust me, I’ve crossed it more than once!
- Traditional and classic: If you’re all about timeless elegance, this style’s for you. Think wrought iron accents, symmetrical arrangements, and classic motifs.
Just a word of advice – whatever style you choose, make sure it can stand up to the elements. That macramé wall hanging might look amazing in your boho dreams, but after a few rainstorms, it might look more “drowned rat” than “desert chic.”
So, what’ll it be? Are you feeling modern and sleek, or is your inner farmgirl itching to come out? The choice is yours, and your outdoor walls are waiting!
Step 3: Select Weather-Appropriate Materials and Decor Items

Okay, gang, now that we’ve got our style nailed down, it’s time to talk about materials. And let me tell you, this is where the fun gets real – or in our case, where the creativity meets the canvas.
Best weather appropriate option
I learned this lesson the hard way when I hung up a gorgeous set of wind chimes made from seashells. They looked amazing. for about a week. Then we had a bit of a windy spell, and suddenly my beautiful wind chimes turned into a pile of broken shells on the ground. Not exactly what I had in mind!
So, let’s break down some weather-appropriate options:
- Metal wall art and sculptures: These bad boys are tough! They can handle sun, rain, and wind like champs. Just keep an eye out for rust if you live in a humid area. I’ve got a metal sunburst on my wall that’s been going strong for years – it’s even survived a few hurricane warnings!
- Wooden signs and reclaimed wood decor: Wood can be tricky. It looks great, but it needs some TLC to withstand the elements. Make sure it’s sealed properly, or you might end up with a warped, sad-looking sign. Trust me, “Welcome to our Home” isn’t the vibe you’re going for.
- Ceramic and terracotta pieces: These can add a lovely, earthy touch to your space. But be careful in areas that freeze – that expanding ice can turn your beautiful planter into a pile of terracotta confetti overnight.
- Weather-resistant fabrics and tapestries: If you’re going for a softer look, opt for outdoor-rated fabrics. They’re designed to resist fading and mildew. I once tried to use a regular tapestry outside. let’s just say it didn’t survive its first encounter with a summer rainstorm.
- Plastic and resin decorations: Don’t knock ’em till you’ve tried ’em! Modern plastics and resins can look surprisingly elegant, and they’re tough as nails when it comes to weather resistance.
Remember, folks, no matter what material you choose, you’ll want to give it a little check-up now and then. Even the toughest decor items can use a bit of cleaning and TLC to keep looking their best.
Alright, now that we’ve covered materials, who’s ready to start shopping? Just remember – durable doesn’t have to mean dull. With the right choices, your outdoor walls can be both beautiful and built to last!
Step 4: Make an outdoor wall detector layout
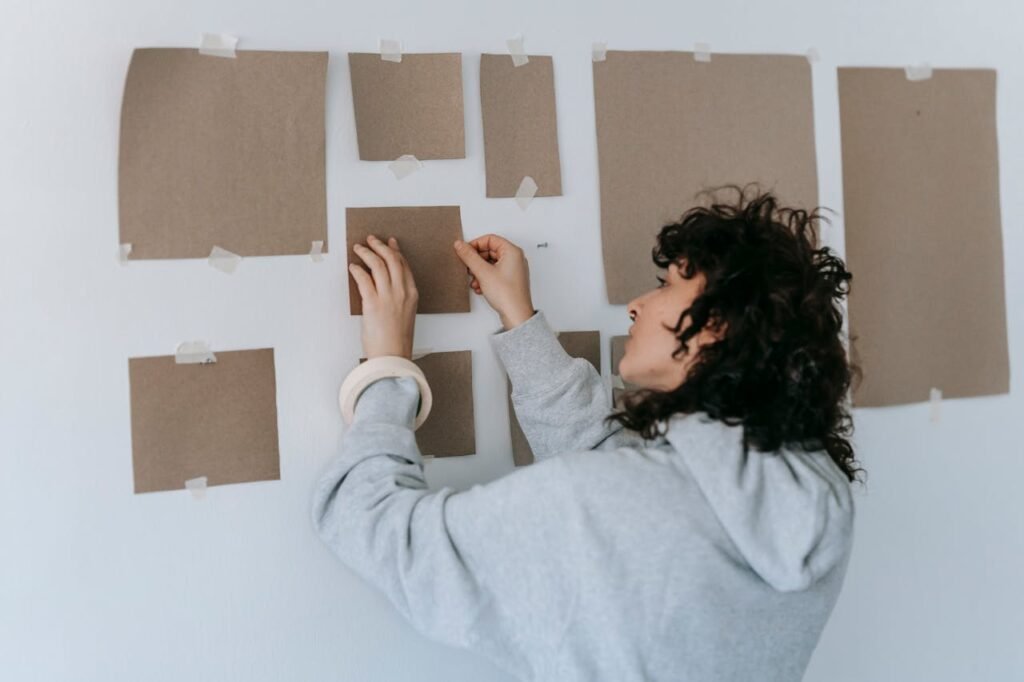
Alright, decorators, it’s time to get our artistic juices flowing! We’re talking about layout, and let me tell you, this is where the magic happens.
Select your focal point for outdoor wall
First up, let’s talk about creating a focal point. This is the star of your wall show, the piece that catches the eye and makes people go “Wow!” I once envisioned every photo on my wall as a centerpiece. Let’s just say it looked less “wow” and more “ow, my eyes!”
Here’s a tip: pick one standout piece and arrange everything else around it. It could be a large piece of art, a statement clock, or even a living wall planter. Just make sure it resonates with your soul; you’ll be the one living with it daily!
Importance of symmetrical thing
Next, we’ve got to think about balance. You know how a see-saw works, right? Well, your wall decor should have that same kind of equilibrium. If you’ve got a heavy piece on one side, balance it out with a few smaller pieces on the other. It’s like a little physics lesson for your walls!
The rule of thirds and apply
Now, let me introduce you to your new best friend: the rule of thirds. Imagine your wall divided into a 3×3 grid. The sweet spots for placing your decor are where those lines intersect. It’s a little trick that artists and photographers use, and let me tell you, it works wonders for wall decor too!
But hey, sometimes you have to bend the rules to create something extraordinary, right? If you’re feeling rebellious, you might want to play around with asymmetry. It can bring a lively, energetic vibe to your environment. But hey, sometimes you have to bend the rules to create something extraordinary, right?. Just be careful – there’s a fine line between “artfully asymmetrical” and “did a tornado arrange this wall? I might have stretched the limits a few times, if I’m being honest.
Remember, folks, planning your layout is all about creating a composition that feels right to you. It is so common that you make the wrong decision. And if all else fails, just call it “abstract” and pour yourself a well-deserved drink. Cheers to creative decorating.
Step 5: Prepare Your Outdoor Wall for Decoration

Alright, DIY warriors, it’s time to roll up those sleeves and get down to the nitty-gritty – wall prep! Now, I know what you’re thinking. “Come on, can’t I just hang some pieces and see what happens?” Trust me, I’ve been there. But let me tell you a little story about why prep matters.
Wall cleaning step
First things first, we need to clean that wall. And I don’t mean a light dusting.
I’m talking elbow grease, people! Get all that dirt, grime, and whatever else has accumulated over the years off of there. You might be amazed by the beauty waiting to be revealed. I once uncovered a family of spiders that had been quietly judging my decorating choices for years!
Damage makeover
Next up, it’s damage control time. Got any cracks, chips, or holes? Now’s the time to play doctor and patch those babies up.
Trust me, your wall decor will thank you for the smooth surface. And so will you, when you’re not constantly straightening crooked hangings.
Anchor installation and element collection
Now, here’s where things get a bit technical. Depending on what you’re hanging, you might need to install some heavy-duty anchors or a support system.
This is especially true for heavier items like large metal sculptures or living wall planters. Use proper support!
Oh, and here’s a pro tip: if you’re not sure about the best way to prep your specific wall material, don’t be afraid to ask for help.
The folks at your local hardware store can be a goldmine of information. I’m pretty sure the guy at my local store knows more about my walls than I do at this point!
Remember, good prep work is like a good foundation – it might not be the most exciting part, but it’s what keeps everything else from falling apart. So take your time, do it right, and your outdoor wall will be ready for its decor debut in no time!
Step 6: Install Your Chosen Outdoor Wall Decorations
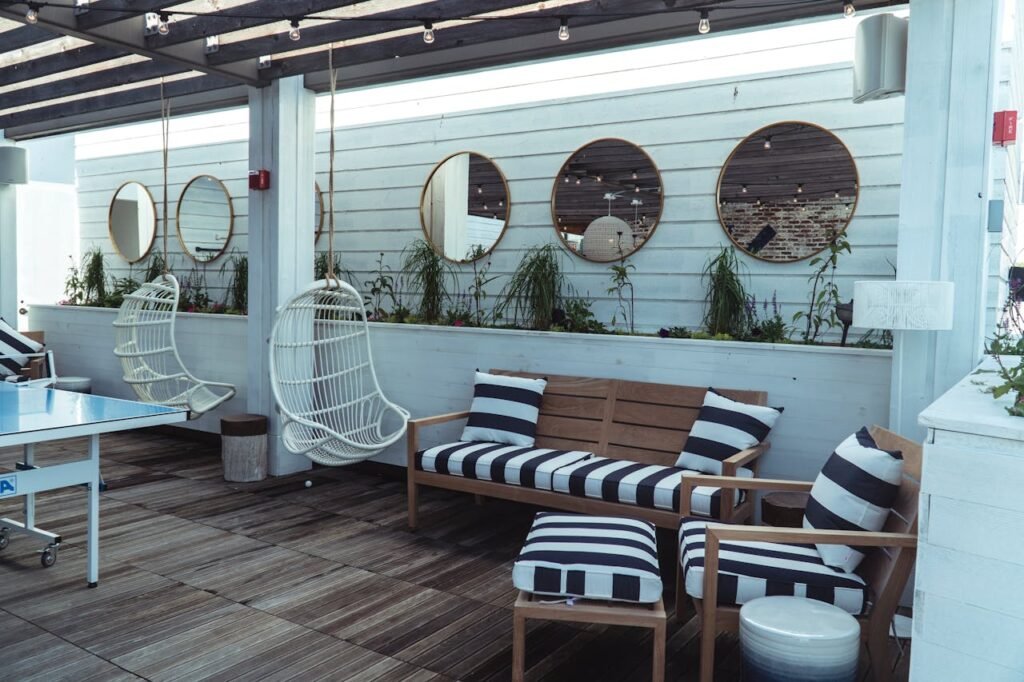
Alright, folks, this is the moment we’ve all been waiting for – it’s time to hang that decor! Now, I know you’re excited. I can feel the anticipation buzzing through the screen. But let’s take a deep breath and approach this methodically, shall we? Trust me, your future self will thank you for not rushing this part.
Hanging technique and tools
First up, let’s talk about hanging techniques. Different materials need different approaches.
For lighter items like wooden signs or small metal pieces, you might be able to get away with outdoor-rated adhesive hooks. But for heavier stuff? You’re gonna want to break out the drill.
Speaking of drills, let’s chat about tools for a sec. A good drill, level, pencil, and measuring tape are your best friends here. Oh, and don’t forget safety gear!
I once got so excited about hanging a new piece that I forgot my safety glasses. Let’s just say I won’t be winning any “pirate of the year” contests, but I did learn an important lesson about eye protection!
Element spacing
Spacing and leveling are crucial. There’s nothing worse than standing back to admire your handiwork only to realize everything’s crooked. I speak from experience here – I once hung an entire gallery wall only to realize it was slowly sloping downwards like a sad, artistic avalanche. Don’t be like me – use that level!
Step 7: Add Greenery and Natural Elements

Alright, plant parents and nature enthusiasts, this one’s for you! Adding a touch of green to your outdoor wall decor is like adding the perfect seasoning to a dish – it just makes everything better.
Vertical garden
Now, if you’re feeling a bit more ambitious (or if you’re like me and want to pretend you’re living in a tropical paradise), consider creating a vertical garden. It’s like a green carpet for your wall, but way cooler. Fair warning though, it does require a bit more maintenance than your average wall decor. I may or may not have accidentally created a small rainforest on my patio before I got the hang of it.
Artificial wall plant
For those of you who love the look of greenery but weren’t blessed with a green thumb (I see you, fellow plant killers), don’t worry! There are some amazing preserved moss walls and artificial plant options out there. I’ve got a faux succulent arrangement that looks so real, I sometimes catch myself trying to water it.
Beyond plant
And let’s not forget about natural elements beyond plants. Think driftwood sculptures, woven wicker pieces, or even a chic stone wall fountain. I once found a piece of driftwood that looked suspiciously like a flamingo – you better believe that bad boy is now the centerpiece of my outdoor wall gallery!
Remember, the key is to blend these natural elements with your existing decor. It’s all about creating a cohesive look that makes your outdoor space feel like an extension of nature – even if that nature is mostly confined to your walls.
Step 8: Maintain and Update Your Outdoor Wall Decor
Alright, folks, we’re in the home stretch! You’ve prepped, planned, and prettied up your outdoor walls. But our job isn’t done yet. Like a high-maintenance friend, your outdoor decor needs a little TLC to keep looking its best.
Clean regularly
First things first: cleaning. Some time you can feel bored cleaning your wall. But trust me, a little regular cleaning goes a long way. Depending on your decor, this might mean anything from a gentle dusting to a full-on power wash. I learned this the hard way when I noticed my white metal wall art had taken on a lovely shade of green. Turns out, algae doesn’t make for great abstract art.
Importance of touch up paint
Next up: touch-ups. Sun, rain, wind – Mother Nature can be tough on outdoor decor. Keep an eye out for any chipped paint, rusting metal, or weathered wood. A little touch-up paint here, a bit of sanding and sealing there, and your decor will keep looking fresh for years to come. I’ve got a little “touch-up kit” that I keep handy – it’s saved me from many a decor disaster!
Seasonal care
Now, here’s something fun to consider: seasonal rotations! Who says your outdoor walls have to look the same all year round? Everybody wants different walls for different seasons. Light, breezy pieces for summer, cozy textures for fall, twinkling lights for winter… It’s like giving your outdoor space a whole new look every few months!
Remember: maintaining your outdoor wall decor isn’t just about preserving its looks – it’s about making sure everything is secure and safe. Nobody wants a rogue wall sculpture taking flight during a windstorm. Trust me, explaining to your neighbors why there’s a metal sun embedded in their rose bushes is not a conversation you want to have.
Conclusion
Well, would you look at that! We’ve journeyed together from blank walls to beautiful, personalized outdoor spaces. Give yourself a pat on the back – you’re now officially an outdoor wall decor expert!
Remember when we started, and your walls were about as exciting as watching paint dry? Now they’re vibrant, full of personality, and probably the envy of the neighborhood. You’ve weathered the storms (literally) of choosing materials, battled the elements with proper preparation, and come out victorious with a stunning outdoor oasis.
So what’s next? Well, that’s up to you! Maybe you’ll host a garden party to show off your handiwork. Perhaps you’ll spend quiet evenings enjoying your new outdoor ambiance. Or maybe you’re already plotting your next decor change – after all, there’s always room for one more plant, right?
So go on, grab that cool drink we talked about, settle into your favorite outdoor chair, and admire your handiwork. You’ve earned it! And who knows? Maybe you’ll inspire your neighbors to up their outdoor decor game too. Just remember, if they ask for advice, send them my way – I’ve got plenty more stories of decor disasters turned triumphs to share!

