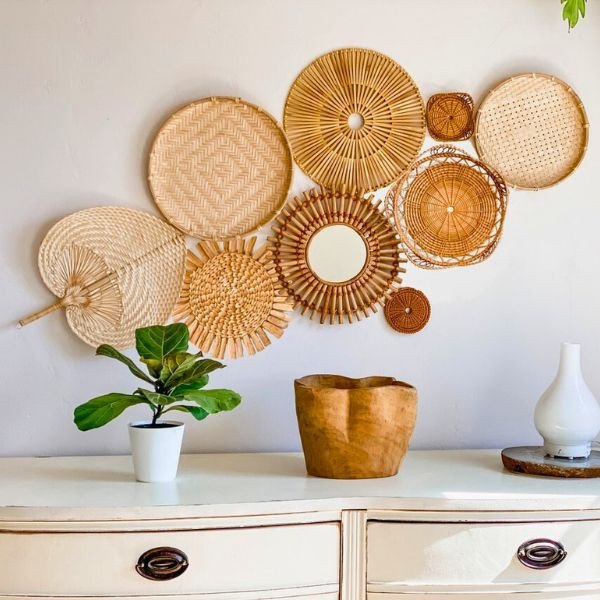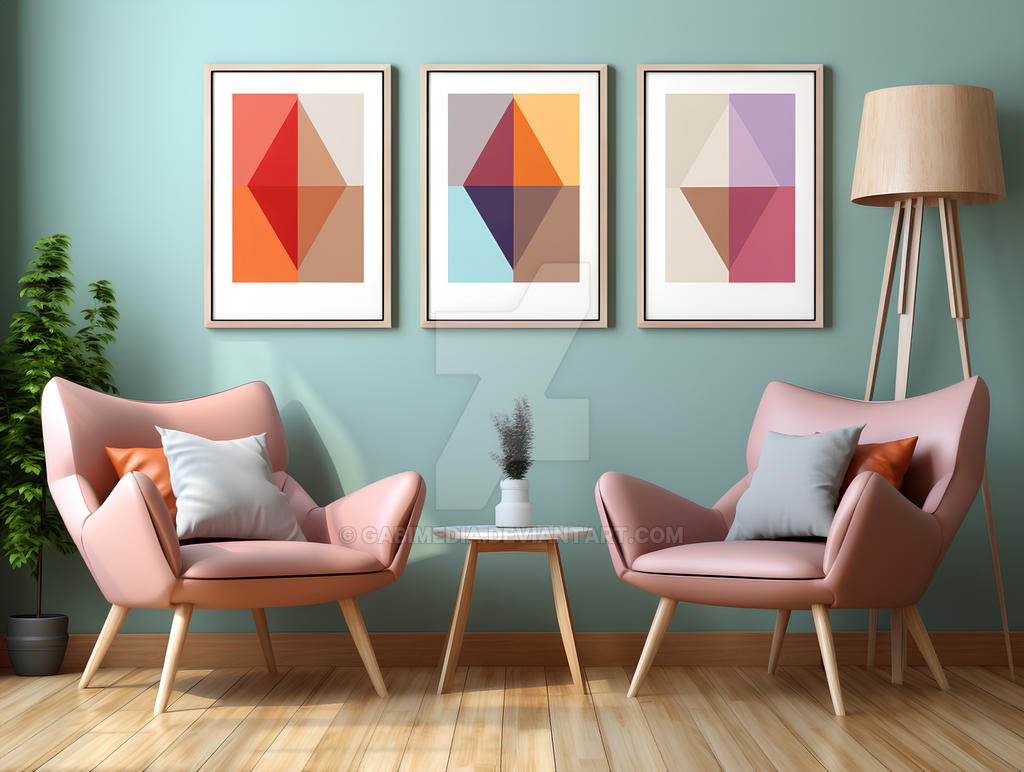
You know that feeling when you walk into someone’s living room and BAM! I think their beautiful gallery wall just makes you stop in your tracks? Well, let me tell you, I’ve been there – both as the awestruck guest and the proud (albeit sometimes frustrated) creator.
Did you know that according to a recent interior design survey, 68% of homeowners consider a gallery wall as one of the top ways to personalize their living spaces? It’s no wonder – these artistic displays can transform a dull wall into a captivating storytelling masterpiece!
I remember when I first decided to create a gallery wall in my own living room. Let’s just say it involved a lot of nail holes, crooked frames, and maybe a tiny meltdown or two. But fear not, my friends! I’ve learned from my mistakes, and I’m here to guide you through the wonderful world of gallery walls.
Whether your living room is as spacious as a ballroom or as cozy as a shoebox, I’ve got you covered with layouts, tips, and tricks that’ll make your walls sing.
So grab a cup of coffee, and let’s dive into the art of wall decoration mastery!
Understanding the Basics of Gallery Wall Design
Alright, folks, let’s start with the nitty-gritty. What exactly is a gallery wall? Well, it’s not just slapping a bunch of frames on a wall and calling it a day (trust me, I tried that approach – it didn’t end well). A gallery wall is a curated collection of art, photos, and objects that come together to tell your story. It’s like Facebook, but classier and without the annoying ads!
Why should you go for the gallery wall?
Why do gallery walls work so darn well in living rooms? Simple – they’re conversation starters, mood-setters, and personality-showcases all rolled into one.
I once had a first date where we spent a good hour just talking about the pieces in my gallery wall. Spoiler alert: there wasn’t a second date, but hey, at least my wall was a hit!
What will be the key element?
Now, let’s talk about the key elements that’ll make your gallery wall pop:
- Variety: Mix up your mediums! Photos, paintings, prints, even that weird sculpture your aunt gave you – it all has a place.
- Cohesion: Find a common thread, whether it’s color, theme, or frame style.
- Balance: It doesn’t have to be symmetrical, but it should feel harmonious.
- Personal touch: Include personal items . That concert ticket stub? Perfect!
And please, for the love of all things holy, avoid these common mistakes:
- Don’t hang everything at eye level – vary those heights!
- Step away from the matching frame set. It’s okay, I promise.
- Measure twice, hammer once. Your walls (and neighbors) will thank you.
Remember, a gallery wall is like a good party mix – it needs variety, balance, and a dash of the unexpected to really shine!
Assessing Your Living Room Space
Okay, so you’re ready to dive in and create your masterpiece. But hold your horses! Before you start hammering away like a caffeinated woodpecker, let’s take a good, hard look at your living room space. Trust me, I learned this the hard way when I tried to cram a massive gallery wall into my tiny studio apartment. Let’s just say it looked less “artistic statement” and more “wall-eating monster.”
Wall space and focal point
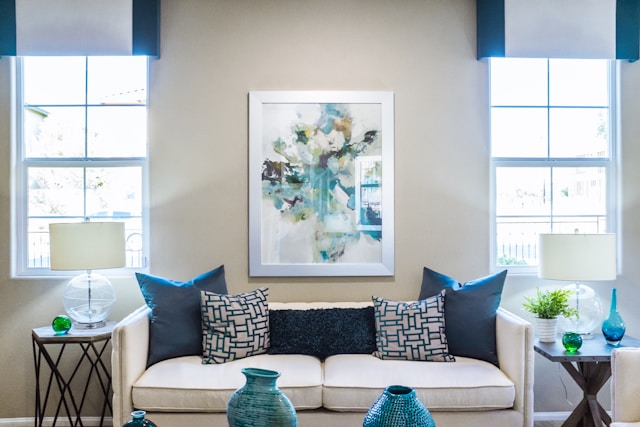
First grab that measuring tape! You want to know exactly how much wall real estate you’re working with. And don’t just measure the obvious spots. Get in there and measure those weird nooks and crannies too. You never know where a quirky little collection might fit perfectly.
Next up, play detective and identify your room’s focal points. Is there a fireplace that’s begging for some art love? A big window that needs some framed friends? Or maybe an oddly placed light switch that’s just asking to be hidden (hello, oversized art print!).
Furniture placement and lighting

Don’t forget about your furniture placement. You don’t want your carefully curated gallery wall to be hidden behind that giant monster plant or your grandma’s antique armoire. And speaking of plants, consider how natural light plays in your space. You don’t want your favorite watercolor fading faster than my New Year’s resolutions!
challenging spaces
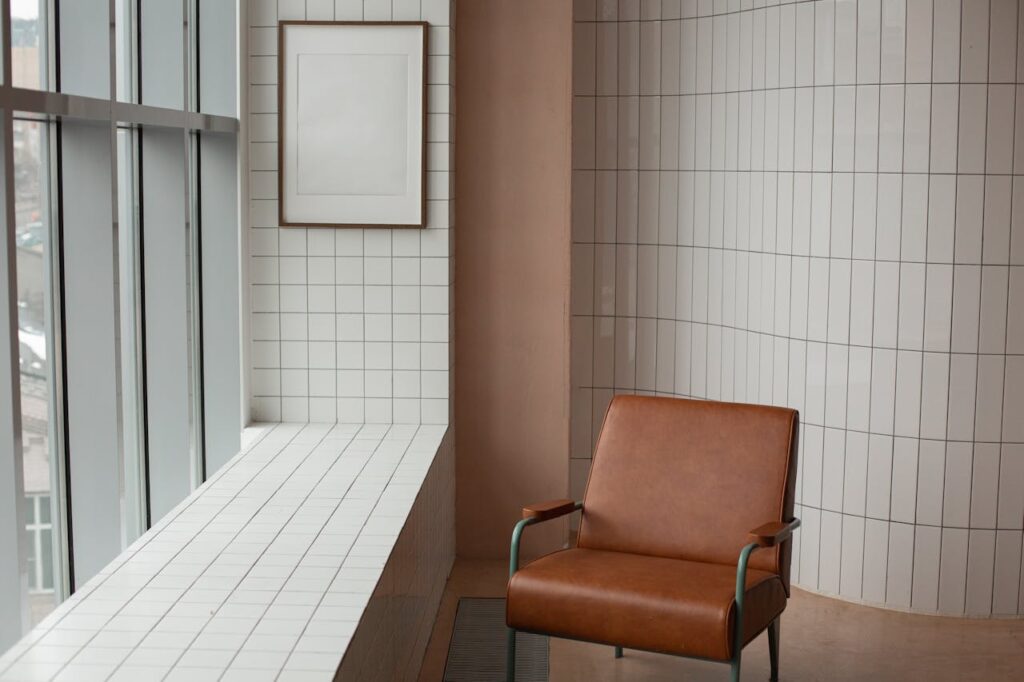
Now, let’s talk about those tricky spaces. Got a sloped ceiling? Embrace it! Use it to create a unique, cascading effect with your frames. Dealing with a narrow wall? Think vertical, my friend. A column of varied frame sizes can make that skinny space sing!
Remember, every living room has its quirks. My old apartment had this weird jutting wall that drove me nuts until I realized it was the perfect spot for a 3D art installation. Sometimes, your room’s biggest challenge can become your gallery wall’s superstar!
Gallery Wall Layouts for Different Living Room Shapes
Alright, design enthusiasts, it’s time to get shape-specific! Just like how one-size-fits-all jeans are a lie (I’m looking at you, online shopping disasters), one gallery wall layout definitely doesn’t fit all living rooms. But don’t worry, I’ve got the lowdown on making your gallery wall work, whether your living room is shaped like a perfect square or more like a funky tetris piece.
Square room

Let’s start with square living rooms. You lucky ducks have it made when it comes to symmetry! A grid layout can look absolutely stunning here. Think of it as your own personal art museum. But hey, if you’re feeling rebellious, why not shake things up with a circular arrangement? I once did this in a client’s home, and let me tell you, it was like the wall equivalent of a mic drop!
Rectangular room
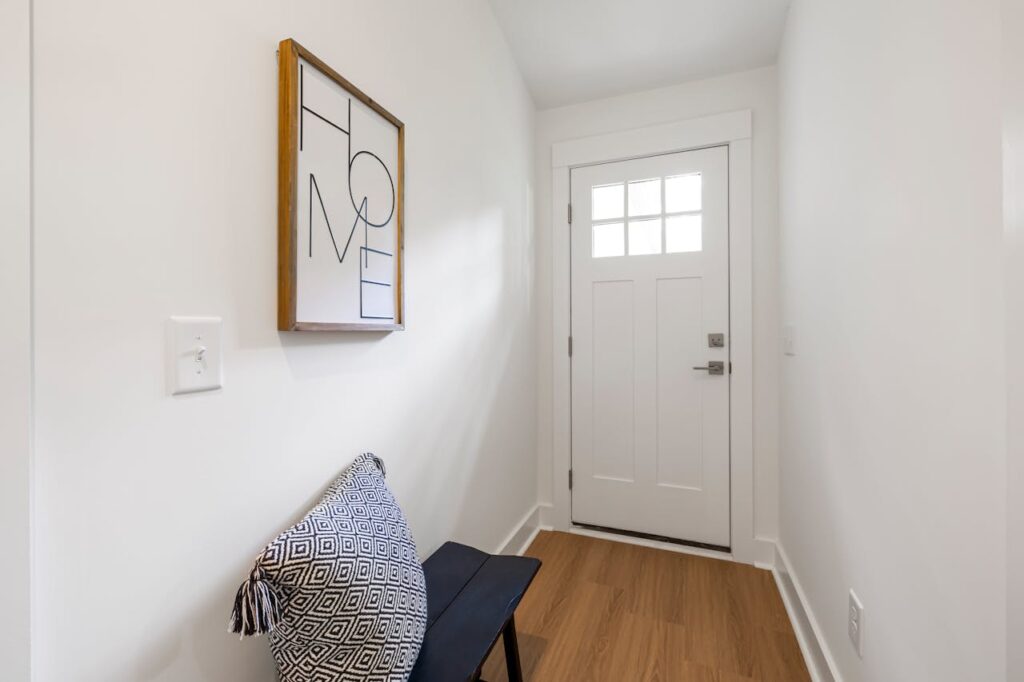
Now, for you rectangular room owners – you’ve got length on your side, baby! Use it to your advantage with a long, horizontal arrangement. It’s like a visual journey across your wall. Pro tip: start with your biggest piece in the center and work your way out. It’s like the Big Bang theory, but for art!
L-shaped room
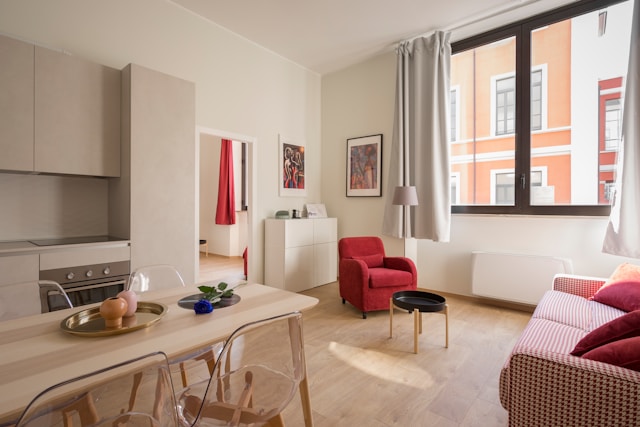
Ah, the L-shaped living room – the mullet of room shapes (business in the front, party in the back). This is your chance to get creative with corners! Use them as natural dividers between different themes or styles. I once helped a friend create an “around the world” gallery wall that started with local scenes and transitioned to exotic locations as it turned the corner. Instant vacation vibes!
Remember, no matter what shape you’re working with, your gallery wall should feel like a natural extension of your space. It’s not about forcing a square peg into a round hole (or a round frame onto a square wall). It’s about embracing your room’s unique personality and running with it. Now go forth and create, you design maverick, you!
Choosing and Arranging Art for Your Gallery Wall

Alright, art aficionados, it’s time for the fun part – choosing your masterpieces! It is a complicated thing so we need to focus on it.
Theme for wall gallery

First things first, let’s talk about the theme. There are two main options: “eclectic bohemian” or “minimalist chic”. Maybe “family photo extravaganza” or “travel memories galore”? Whatever you choose, stick with it. Trust me, I once tried to mix my “inspirational quotes” phase with my “abstract splatter paint” period. Let’s just say it looked less “artistic vision” and more “indecisive tornado.”
Frame size

Now, here’s a secret: size matters. And by that, I mean frame sizes! Mix it up, people. Throw in some big statement pieces, some medium-sized crowd-pleasers, and a few small but mighty accents. It’s like arranging a family photo – you want everyone to shine, but Uncle Bob’s giant head shouldn’t take up the whole frame.
Use different types of frame so that we can mix it and we can create a beautiful layout. I once created a gallery wall using frames I found at thrift stores, spray-painted them all gold, and voila! Instant cohesion on a budget. Who says you can’t be fancy on a dime?
Installation tip and tricks

When it comes to arranging, here’s my tried-and-true trick: use odd numbers. There’s something magical about groups of 3, 5, or 7. It’s like the Holy Trinity of design – it just works. And remember, your gallery wall doesn’t have to be perfectly symmetrical. In fact, a little asymmetry can add some spice. It’s like the perfect messy bun – effortlessly cool.
Lastly, don’t forget about spacing. Too close, and it looks cluttered. Too far apart, and it looks disjointed. Aim for about 2-3 inches between frames. I like to use Post-it notes as spacers. Plus, when you’re done, you can use them to write passive-aggressive notes to your roommate about doing the dishes. Win-win!
Gallery Wall Installation Techniques
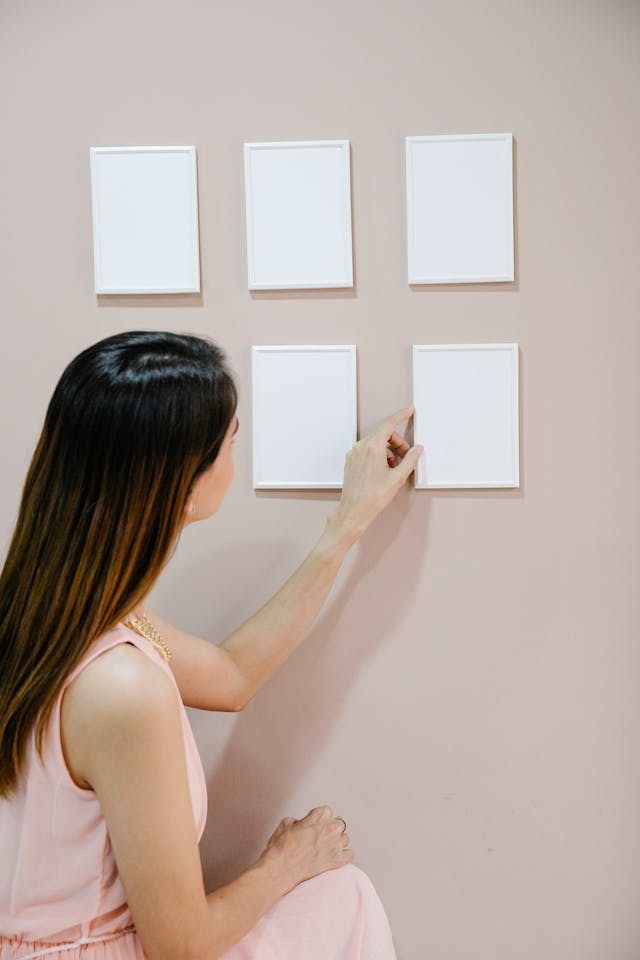
Okay, DIY warriors, it’s hammer time! (Cue MC Hammer dance.) But before you start swinging, let’s talk strategy. Because let me tell you, there’s nothing worse than turning your wall into Swiss cheese. Been there, done that, got the spackle to prove it.
Tools and materials
First up, tools. You’ll need a hammer (duh), nails or picture hangers, a level (trust me on this one), and a pencil. Oh, and patience. Lots of patience. Maybe pour yourself a glass of wine. You know, for steadier hands.
Planning your layout
Now, here’s a pro tip I wish I’d known sooner: use paper templates. Trace your frames onto kraft paper, cut them out, and tape them to the wall. It’s like playing with paper dolls, but for adults! Move them around until you find the perfect arrangement. If you perfectly implement the perfect layout of the photo frame then it will be an aesthetic wall.
Hanging methods
When it comes to hanging, start with your largest piece. So it is important to find a perfect size ascending. Once that’s in place, build around it. Make sure you create a straight line. Nothing screams “amateur hour” like a wonky frame.
placement
Different walls call for different hanging methods. Drywall? Easy peasy, just use those fancy drywall anchors. Brick or concrete? Time to break out the heavy-duty drill and masonry bits. And if you’re dealing with plaster, say a little prayer before you start. That stuff can be trickier than trying to eat spaghetti gracefully on a first date.
Remember, measure twice, hammer once. It’s not just a cute saying – it’s the difference between a polished gallery wall and a wall that looks like it was hung by a caffeinated squirrel.
Styling Your Gallery Wall
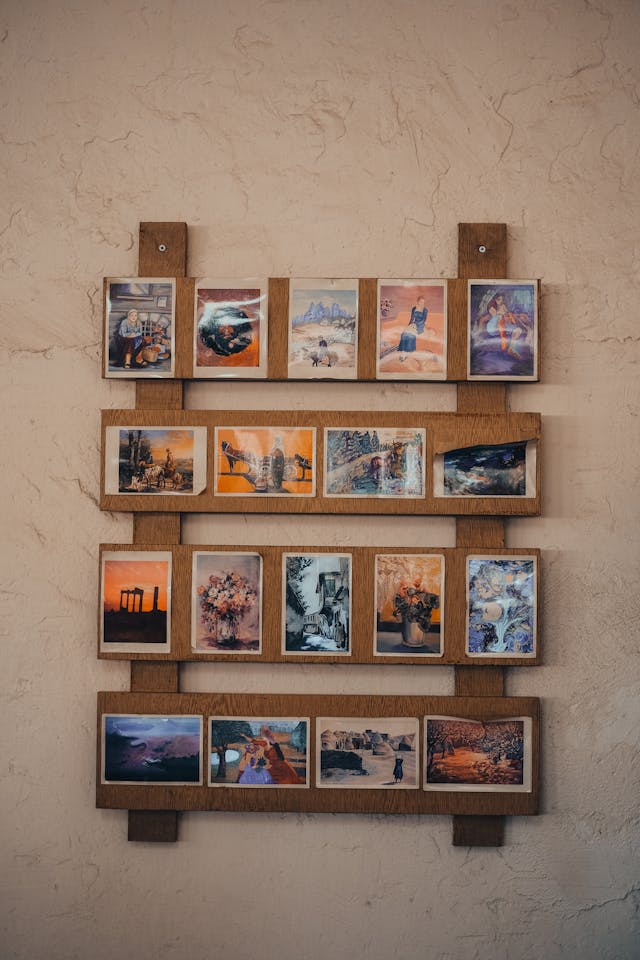
Alright, your frames are up, and you’re feeling pretty darn proud of yourself. But wait, there’s more! Styling your gallery wall is like accessorizing an outfit – it’s what takes it from “nice” to “holy cow, where did you get that?!”
Let’s talk about 3D elements, people. I’m talking about adding depth and texture to your wall. Maybe it’s a cool clock, a quirky wall sconce, or that macramé plant hanger you impulse-bought at 2 AM (just me?). These elements break up the flatness and add visual interest.
Speaking of plants, greenery is your friend! A few well-placed plants can breathe life into your gallery wall. Literally. I once added a row of air plants to my gallery wall, and it was all fun and games until I forgot to water them for a month. RIP, little guys.
If you want to create your wall with seasonal products. It’s a good idea. Swap out a few pieces for something more festive during the holidays, or switch to lighter, brighter art for summer. It’s like having a whole new wall without the hassle of changing everything.
And here’s a crazy thought – your gallery wall doesn’t have to stop at the edge of your frames. Use washi tape to create connections between pieces, or add some wall decals for extra pizzazz. Go wild! It’s your wall, after all.
Common Gallery Wall Challenges

Let’s face it, even the best-laid gallery wall plans can go awry. But fear not, my decorating comrades, for I have faced these challenges and lived to tell the tale!
Complicative area
First up, the dreaded TV dilemma. You want art, but you also want to binge-watch your favorite shows. The solution? Embrace it! Make your TV the centerpiece of your gallery wall. Surround it with frames, and suddenly it’s not just a black box, it’s part of your curated collection.
Low ceilings got you down? No problem! Use vertical arrangements to draw the eye up and create the illusion of height. It’s like wearing vertical stripes, but for your walls.
Balance of symmetrical and asymmetrical
For those of you dealing with asymmetrical layouts (because who doesn’t love a challenge?), here’s a tip: find a common element to tie everything together. Maybe it’s a color that appears in each piece, or a consistent frame style. It’s like herding cats – tricky, but not impossible.
Remove unnecessary wall hole
And let’s talk about mistakes. They happen. You miscalculated, your hand slipped, and now you have a hole where you don’t want one. Don’t panic! This is why they invented spackle and touch-up paint. A little patching, a dab of paint, and voila! Good as new. Just don’t tell your landlord I said that.
Conclusion:
We’ve been on quite the gallery wall journey, haven’t we? From assessing your space to troubleshooting challenges, we’ve covered it all. But here’s the thing – there’s no one “right” way to create a gallery wall. It’s all about expressing your personality and telling your story.
Remember, your gallery wall makes memories and keeps all golden time. So whether it’s filled with family photos, abstract art, or a collection of vintage maps, make it uniquely yours. Don’t be afraid to break the rules (I mean, that’s what they’re there for, right?).
And here’s a little secret – your gallery wall is never really “finished.” It’s a living, breathing entity that grows and changes with you. So go ahead, swap out that old poster for a new print you love. Add a frame for that ticket stub from an amazing concert. Your wall should evolve just like you do.
So grab those frames, unleash your creativity, and let’s turn those blank walls into works of art! Who knows? You might just inspire the next gallery wall revolution. Now go forth and create, you design superstars!


