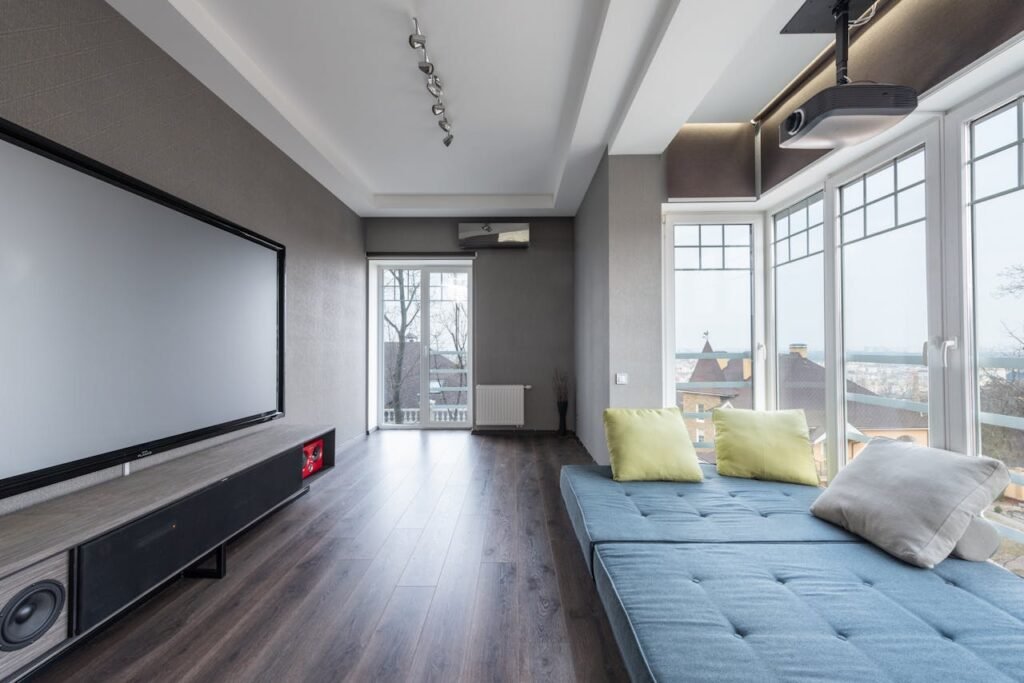
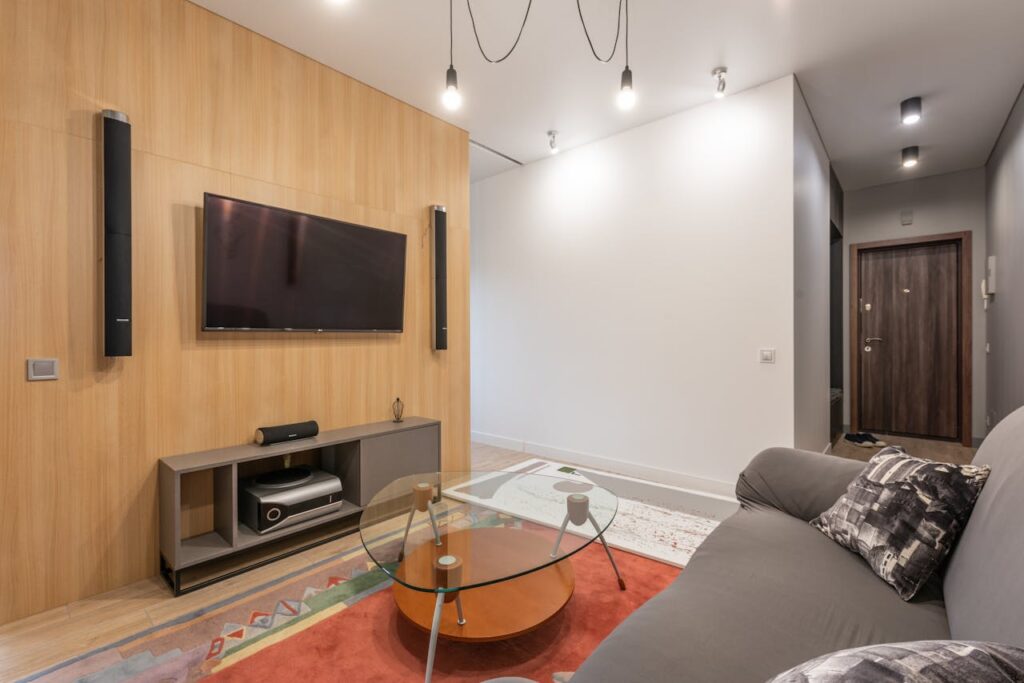
You know what blew my mind when I first started researching home theaters?
The average cost people were claiming you needed was anywhere from $10,000 to $30,000!
I nearly fell out of my chair. But here’s the thing – after helping dozens of families create their dream theater rooms over the past 15 years, I’ve discovered something pretty exciting: you can build an impressive home theater for just $5,000.
Let me hit you with a surprising stat: according to the Consumer Technology Association, home theater installations increased by 85% in 2023, with budget setups under $5,000 accounting for nearly 40% of all new installations. Trust me, I’ve seen $5,000 theaters that look and sound better than some $15,000 setups!
In this comprehensive guide, we’ll break down exactly how to build your dream theater room with a $5,000 budget. We’ll cover everything from essential equipment selection to DIY acoustic treatments that’ll make your space sound like a commercial cinema..
Planning Your Budget-Friendly Home Theater Room

Let me tell you something that took me years to learn – the difference between a good and great home theater happens way before you buy your first piece of equipment. It’s all in the planning!
Room dimension
First things first – you need a room that’s at least 12 feet wide and 16 feet deep. Believe me, I’ve built theaters in smaller spaces, but these dimensions give you the sweet spot for optimal speaker placement and seating distance.
The ceiling height? Try to get at least 8 feet, though I once worked with a 7’6″ ceiling and made it work (with some clever projector mounting tricks I’ll share later).
Approximate budget
Here’s how I recommend splitting up your $5,000 budget:
- Equipment (Projector, Screen, Audio): $3,000
- Room Preparation: $500
- Acoustic Treatments: $300
- Seating: $700
- Final Setup and Calibration: $500
Timeline-wise, plan for about 2-3 weekends of solid work. I’ve seen too many folks rush through this process and end up with mediocre results.
Essential Equipment Selection ($3,000 Budget Portion)
This is where the magic happens, folks! After building dozens of budget theaters, I’ve cracked the code on getting the biggest bang for your buck. Let me share a secret – the key isn’t buying the cheapest equipment, it’s finding the sweet spot where quality meets value.
Here’s my tried-and-true budget breakdown:
- Projector: $800-1,000 (BenQ HT2050A or Optoma HD146X)
- Screen: $200-300 (Elite Screens 120″)
- AV Receiver: $400-500 (Denon AVR-S750H)
- Speaker System: $800-1,000 (SVS Prime Satellite 5.1)
- Cables and Connections: $100
- Streaming Device: $50 (Roku Streaming Stick)
My sad story
I once tried using a $200 receiver to save money, and the difference in audio quality was like comparing a smartphone speaker to a concert hall. Trust me, that extra $200-300 in this category makes a world of difference.
For the projector, focus on lumens and contrast ratio over resolution. I’ve had clients obsess over 4K, but in a properly dark room, a good 1080p projector can look absolutely stunning.
The BenQ HT2050A has been my go-to recommendation for years – it’s like the Toyota Camry of projectors: reliable, great performance, and excellent value.
Room Preparation ($500 Budget Portion)
This is where the magic really starts to happen, and believe me, I’ve seen $10,000 worth of equipment underperform in a poorly prepared room. That $500 you’re spending here? It might be the most important money in your entire budget!
Painting budget
Paint is your best friend here. I swear by Sherwin-Williams ProClassic in matte dark gray (or even better, their Duration Home in Tricorn Black) for the walls and ceiling.
You’ll spend about $150 on paint, but it’s worth every penny. I once used regular black paint from a big box store, and the reflections were driving me crazy during bright scenes!
Soundproofing
For basic soundproofing, spend about $200 on
- Weather stripping for your door
- A solid-core door (if needed)
- Green Glue and mass-loaded vinyl for basic wall treatment
- Foam gaskets for outlets and switches
Lighting
The remaining $150 goes to lighting for this Budget-Friendly Home Theater.
Here’s my secret weapon: install a dimmer switch with LED rope lights around the baseboards. I discovered this trick by accident when helping a friend on an ultra-tight budget, and now I use it in almost every build.
It creates perfect ambient lighting for movie watching and looks way more expensive than it is!
DIY Acoustic Treatments ($300 Budget Portion)

Listen up, because this is where most budget builds go wrong! After watching countless YouTube videos about expensive acoustic panels, I stumbled upon a game-changing DIY solution that costs a fraction of the price but performs like professional gear.
Here’s your shopping list:
- Roxul Safe’n’Sound insulation: $100
- Wood for frames: $50
- Fabric (look for Guilford of Maine alternatives): $100
- Basic hardware: $50
Pro tip: Build bass traps first! I learned this the hard way after building eight beautiful acoustic panels only to realize the bass was still bouncing around like a rubber ball. Four corner bass traps will transform your room’s sound more than a dozen regular panels.
Seating and Comfort ($700 Budget Portion)
Here’s something that might surprise you – you don’t need those $2,000 power recliners to create an amazing theater experience! I’ve discovered some incredible seating hacks that’ll save you thousands without sacrificing comfort.
My favorite budget-friendly find? Look for used commercial theater seats! I once scored 6 genuine leather theater seats for $400 from a renovating movie theater. They needed some TLC, but with $100 worth of cleaning supplies and new foam, they looked brand new. If you can’t find those, here’s my tested formula:
- Option 1: Get 2-3 used power recliners from Facebook Marketplace or Craigslist ($500-600)
- Option 2: Buy a comfortable loveseat ($400) + 2 bean bag chairs ($150) + ottoman ($150)
- Option 3: Build a DIY stadium-style platform ($200) + use existing furniture + add risers
Here’s a game-changing tip I stumbled upon: check office furniture liquidation sales! I once found high-end leather chairs for $100 each that were actually more comfortable than dedicated theater seating. Just make sure they recline at least 110 degrees – trust me, your neck will thank you during those long movie marathons!
Final Setup and Calibration ($500 Budget Portion)
This is where the magic really comes together! I can’t tell you how many times I’ve seen people spend thousands on equipment only to skip proper calibration. That’s like buying a Ferrari and never changing the oil! Here’s how we’ll spend that final $500 to make your system sing:
Equipment Placement:
- Projector mount: $100
- Cable management supplies: $50
- Basic tools and supplies: $50
- Surge protector and power conditioning: $100
- Universal remote: $100
- Calibration disc: $30
- Miscellaneous supplies: $70
Quick overview
You know, when I first started building home theaters, I never thought it would be possible to create something truly spectacular for just $5,000.
Here’s something I’ve learned that still holds true: it’s not about having the most expensive equipment – it’s about making smart choices and paying attention to the details that really matter. I’ve seen $5,000 theaters that absolutely smoke $20,000 setups because they got the fundamentals right.
What’s next? Well, once you’ve got your basic theater up and running, you can always upgrade components over time. Maybe add a better subwoofer next year, or upgrade to a 4K projector down the line.
The beautiful thing about starting with good bones is that your theater will only get better with each thoughtful upgrade.
Ready to begin your home theater journey? Get started with that room prep, and don’t forget – sometimes the best solutions are the simple ones. Happy building!
Now it’s your turn to create something amazing. Let’s get building!


