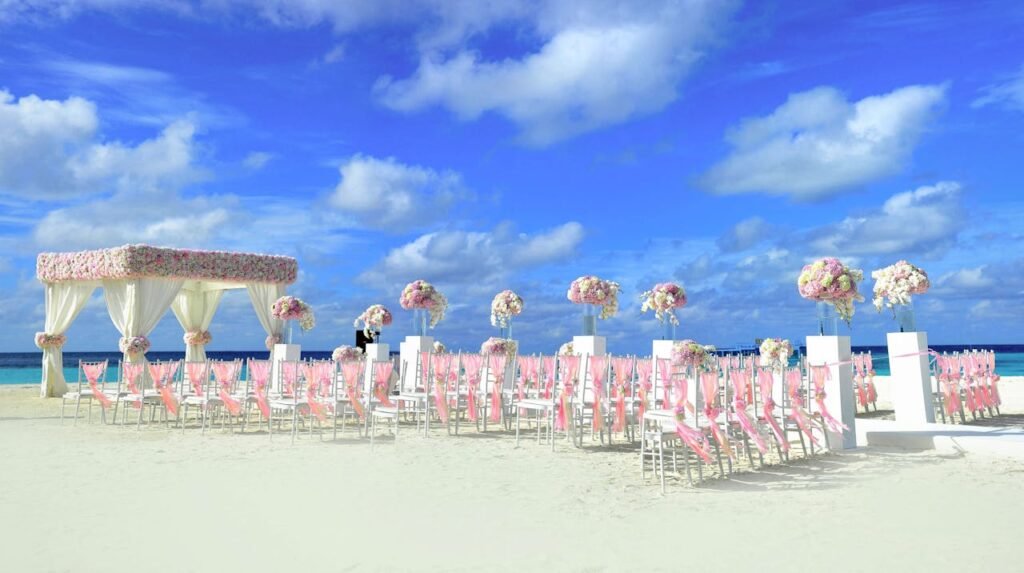
Imagine walking down the aisle beneath a breathtaking wedding arch that perfectly captures your love story!
As a home decorator with 15 years of experience, I’ve seen firsthand how the right wedding arch decoration can transform an indoor venue into a magical space.
Whether you’re dreaming of a lush floral display or a modern minimalist design, this guide will help you create the perfect focal point for your ceremony.
Did you know that 68% of couples consider their ceremony arch to be one of the most photographed elements of their wedding?
Let’s dive into everything you need to know about creating an unforgettable indoor wedding arch!
1: Choosing the Perfect Arch Style
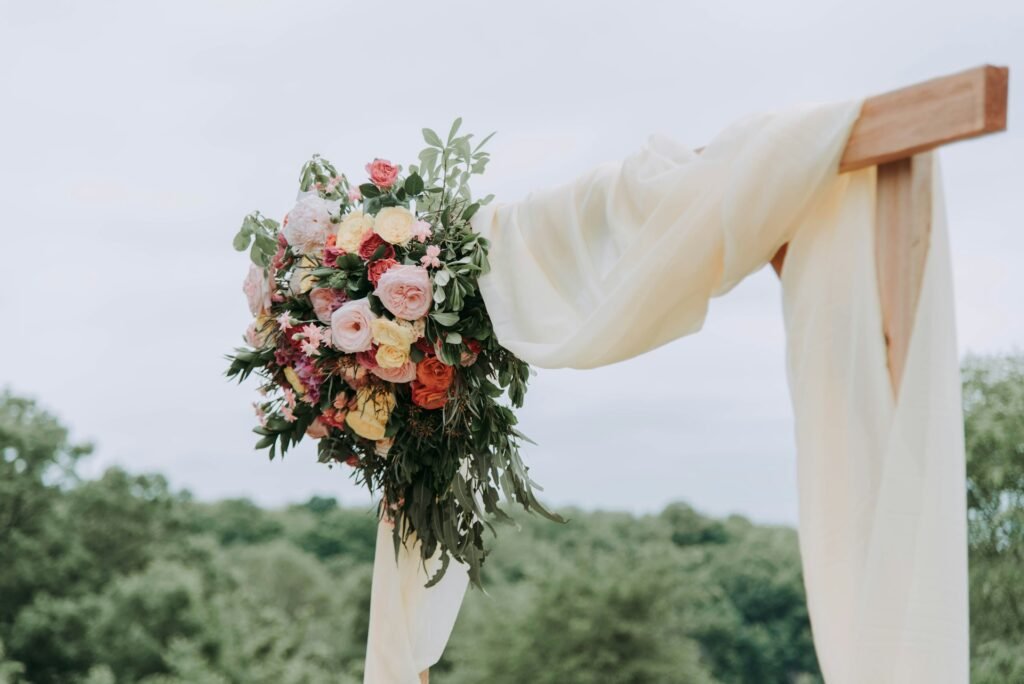
Let me tell you something I learned the hard way after decorating hundreds of wedding arches – choosing the right arch style is absolutely crucial!
I’ll never forget my first indoor wedding where I created this gorgeous circular arch that ended up being way too large for the venue’s ceiling height.
Talk about a last-minute scramble!
Here’s the thing about indoor wedding arches – they’re totally different from outdoor ones.
Position, placement and size
I’ve found that the venue’s architecture should be your starting point, not those dreamy Pinterest photos you’ve been saving (though they’re great for inspiration!).
In my experience, geometric arches work beautifully in modern venues with clean lines, while traditional curved arches complement historic buildings with classical details.
When it comes to sizing, I always follow my 70/30 rule – the arch should take up about 70% of your ceremony space’s height, leaving 30% breathing room.
This creates the perfect frame for photos while maintaining proportion.
One of my clients wanted a massive arch like the one from her favorite celebrity wedding, but we quickly realized it would overwhelm her intimate venue. Instead, we created a smaller hexagonal arch that perfectly fit the space and actually looked more elegant!
Material for wedding arch decoration
I always start with lightweight materials like PVC (which can be beautifully disguised) or aluminum for indoor arches.
Material selection can make or break your arch design.
I learned this wedding arch decoration lesson when I used heavy metal for an elaborate design, only to discover the venue had strict rules about floor protection!
Pro tip: hollow materials are your best friends for indoor setups – they’re easier to transport, assemble, and won’t damage venue floors.
Traditional and unique touch
For couples on a budget (which is most of us, let’s be real!)I’ve discovered some amazing alternatives to traditional arches.
One of my favorite budget-friendly designs involved using copper pipes to create a stunning minimalist arch – it cost less than $100 and looked absolutely incredible!
Another time, we transformed a vintage room divider into a gorgeous ceremony backdrop by adding strategic draping and florals.
The key is to think about your arch as part of the overall venue story. I remember working with a couple who initially wanted a massive floral arch for their library venue.
After some discussion, we ended up creating a book-themed arch using vintage hardcovers and subtle flower accents – it was not only more budget-friendly but also perfectly matched their venue and personal story for arch decoration!
Learning from my past wedding arch adventures, I always remind couples that sometimes the simplest designs create the most magical moments. It’s not about how elaborate your arch is – it’s about how well it fits your space, style, and story. Take it from someone who once had to deconstruct an entire arch an hour before the ceremony – proper planning and appropriate sizing are everything!
2: Essential Materials and Tools for arch decoration
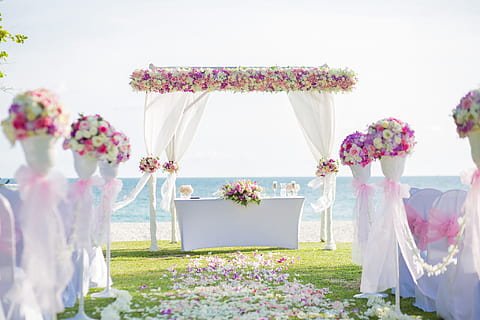
Let me share something that took me years to perfect – the ultimate wedding arch materials list!
I remember my early days when I’d always forget something crucial and have to send someone on a last-minute hardware store run.
Not fun when you’re trying to set up an arch two hours before the ceremony!
Tool kit for arch decoration
First, let’s talk about your basic toolkit. Trust me, you’ll want to have everything ready before you start:
Here’s what I consider my “arch emergency kit” after that one disaster wedding where I had to MacGyver an entire arch support system:
- Heavy-duty zip ties (get more than you think you need!)
- Floral wire in multiple gauges
- A battery-powered drill with fresh batteries
- Sharp scissors (I keep three pairs – one for fabric, one for flowers, and one for general use)
- Clear fishing line (this stuff has saved so many drooping decorations!)
- Command hooks with various weight ratings
- Floral tape in both white and green
- A sturdy step ladder (those compact ones just don’t cut it)
Important thing for DIY arch decoration
Now, for the base materials – this is where I see most DIY couples get tripped up. After that one time when an arch started wobbling during vows (talk about heart-stopping!), I developed a foolproof system. For indoor arches, I always recommend:
- PVC pipes for the main structure (paint them first – I learned that the hard way!)
- PVC connectors (get extras, they’re like socks in a dryer – they disappear)
- Sandbags for stability (those decorative fabric ones look nice and prevent tipping)
- Rubber floor protectors (your venue will thank you)
- Extra fabric for emergencies (trust me on this one)
Material collection
Let’s talk about sourcing materials smartly.
I’ve found some amazing deals at places you wouldn’t expect!
Restaurant supply stores often have great prices on sturdy stands and clamps.
And don’t get me started on the treasures you can find at plumbing supply stores – they have all sorts of pipes and connectors that work perfectly for arch construction.
Storage and transportation are huge considerations that often get overlooked.
I remember this one wedding where we built this gorgeous arch but couldn’t fit it through the venue doors – major facepalm moment!
Now I always use collapsible or modular designs. My top tip? Get a few long storage bags (dance costume bags work perfectly) to protect your materials during transport.
Durability cheek
Safety is absolutely non-negotiable for arch decoration.
Actually this is a wedding day and nobody wants any accidents on this day.
After witnessing a poorly secured arch nearly tip over (thankfully we caught it in time!), I developed these safety rules:
1. Always double-check weight limits for hanging materials
2. Test stability on multiple floor surfaces
3. Keep all electrical connections away from water sources (even flower water!)
4. Use proper safety equipment during setup
5. Have a backup plan for securing wobbly sections
3: Flower for Stunning Floral Arch Designs
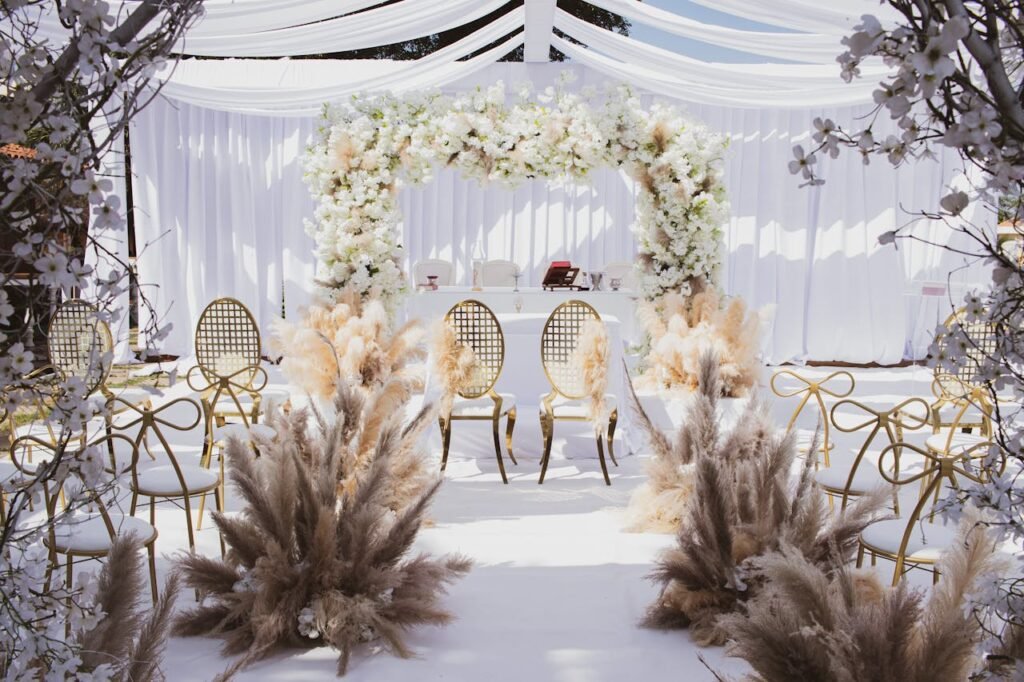
Guys, let me tell you about flower decoration for arches!
After working with countless brides and their floral visions, I’ve learned that creating the perfect floral arch is part science, part art, and a whole lot of careful planning.
I’ll never forget the time I used all fresh flowers on an arch in the middle of summer with no air conditioning – let’s just say I learned some valuable lessons that day!
fresh vs. silk flower
Let’s tackle the biggest decision first: fresh vs. silk flowers. Here’s the honest truth that took me years to admit – mixed designs often work best for indoor arches.
I discovered this after a particularly stressful wedding where the fresh roses started wilting before the ceremony even began.
Now, I typically use silk flowers for the base and accent with fresh flowers in water tubes for key focal points. This gives you the best of both worlds – the perfection of silk with the fragrance and texture of real blooms.
seasonal flower for wedding arch decorations
When it comes to seasonal flower selection, I’ve developed what I call my “hardy flower hierarchy.” After that disaster with delicate peonies that couldn’t handle the indoor heating, I now know exactly which flowers can tough it out:
Summer-proof flowers:
- Orchids (they’re like the superheroes of wedding flowers!)
- Chrysanthemums
- Lilies
- Roses (but only certain varieties)
Winter winners:
- Amaryllis
- Anemones
- Ranunculus
- Dried flowers (these have saved me more times than I can count!)
Budget flower decoration
Let me share a budget-saving trick I discovered by accident when a flower delivery went wrong: mixing high-impact flowers with cost-effective fillers.
Place your showstopper flowers (like garden roses or orchids) at eye level and photographer shooting angles, then fill in with less expensive but still beautiful options like spray roses or quality silk flowers.
4: Fabric and Drapery Techniques

Let me share a game-changing lesson about fabric and wedding arches – it’s not just about the material, it’s about how it moves!
I’ll never forget the wedding where I used beautiful silk that looked gorgeous but created the most distracting shadows in photos.
Since then, I’ve become somewhat of a fabric obsessive when it comes to arch design.
First, let’s talk about fabric selection. Through lots of trial and error (and yes, a few near-disasters), I’ve discovered these are the absolute best fabrics for indoor arches:
Chiffon: My go-to fabric for most designs. It’s lightweight, drapes beautifully, and photographs like a dream. Pro tip: get the medium-weight chiffon, not the super light stuff that can turn transparent in bright lighting.
Voile: This is my secret weapon for budget-conscious couples. It looks almost identical to chiffon but costs about half as much.
Organza: Perfect for creating structure and volume. I use this when I want the draping to hold a specific shape.
Satin: I use this sparingly – usually just as an accent because it can look a bit heavy in photos if overused.
Draping pattern
Let me tell you about my favorite draping pattern that I discovered completely by accident when I was short on fabric at a wedding.
I call it the “waterfall cascade” – it starts with a central point and flows asymmetrically down one side of the arch. It looks completely intentional and uses about 30% less fabric than traditional symmetric draping!
Here’s my tried-and-true process for securing fabric (developed after that one terrifying incident where everything started slipping mid-ceremony):
1. Create anchor points using clear command hooks or zip ties
2. Double-secure each gathering point with safety pins AND fabric tape
3. Use fishing line for invisible support
Most important thing about color and lighting
Color coordination has become something of an obsession for me, especially after working with various venue lighting situations. Here’s what I’ve learned:
- Pure white fabric can look harsh under indoor lighting
- Ivory photographs better than bright white
- Layer slightly different shades for depth
- Always test your fabric colors under the actual venue lighting
Speaking of layering mistakes
Let me save you from one I made early in my career.1 Never layer more than three types of fabric unless you’re going for a specific textured look.
I learned this the hard way at a wedding where the arch ended up looking more like a fabric store display than an elegant backdrop!
For securing different materials, I’ve developed this foolproof system:
- Heavy-duty clear clips for the main structure
- Tiny safety pins for detailed gathering
- Double-sided fabric tape for emergency fixes
- Fishing line for invisible support
- Hidden ties for adjustable sections
5: Lighting Elements and Effects
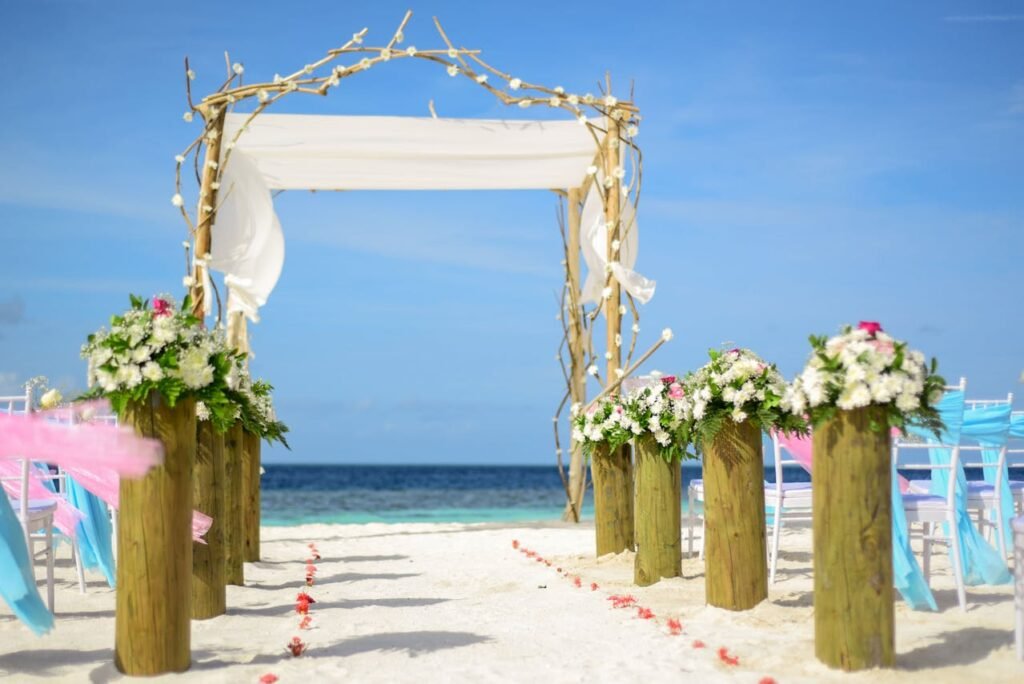
Lighting can make or break an arch display – trust me, I learned this the hard way after creating what I thought was a perfect arch, only to have it look completely flat in photos because of poor lighting!
After years of experimenting (and some memorable mishaps), I’ve developed a foolproof approach to arch lighting that works in any indoor venue.
1. Ambient Base Lighting:
- Battery-operated fairy lights (always pack extra batteries!)
- LED ribbon lights for structure definition
- Miniature up lights for dimensional effects
2. Accent Lighting:
- Spotlights for focal points
- Pinpoint LEDs for flower highlighting
- Color-changing pods for mood transitions
3. Photography-friendly Lighting:
- Diffused LED panels
- Indirect up lighting
- Shadow-filling background lights
During one wedding, half our electrical lighting failed right before the ceremony. In a panic, I created what I now call “light layering” – using multiple small battery-operated lights instead of fewer large ones. It actually looked better than our original plan!
Final thought
This is my proper guide about wedding arch decoration. I just want you to follow my guide properly and keep in mind that my information may not be applicable for everybody.
Sometimes you have to make decisions on your way. Don’t be afraid to keep moving and experiment with everything so that you can get the maximum result of your expertise.

